Start the VirtualBox image
- Start/resume the configured Oracle SOA and BPM Development Virtual Machine.
More information
- Start the weblogic server (let it run in background, it can take up to 10 minutes)
Build the first BPEL process
Create the project
- Click the JDeveloper icon on the desktop.
- Choose Default Role
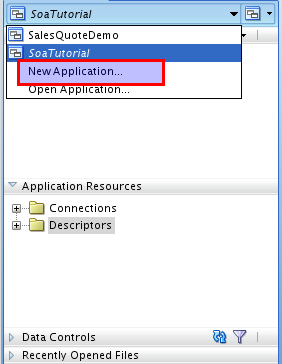
- In the Application Navigator, create a new application.
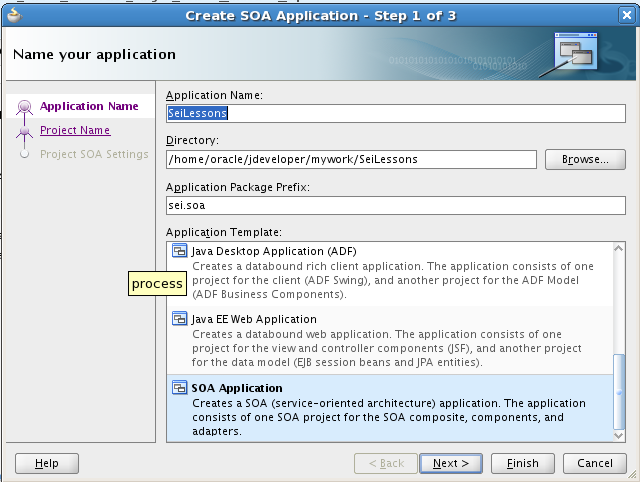
- Choose the following properties.
- Application Name = SeiLessons
- Directory = /home/oracle/jdeveloper/mywork/SeiLessons/
- Application Package Preffix = sei.soa
- Application Template = SOA Application
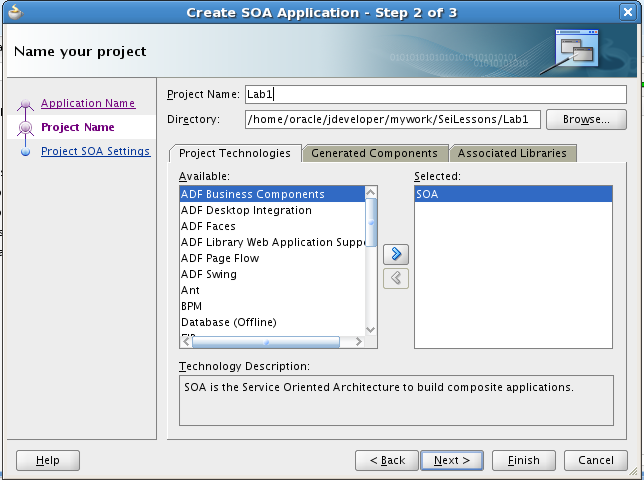
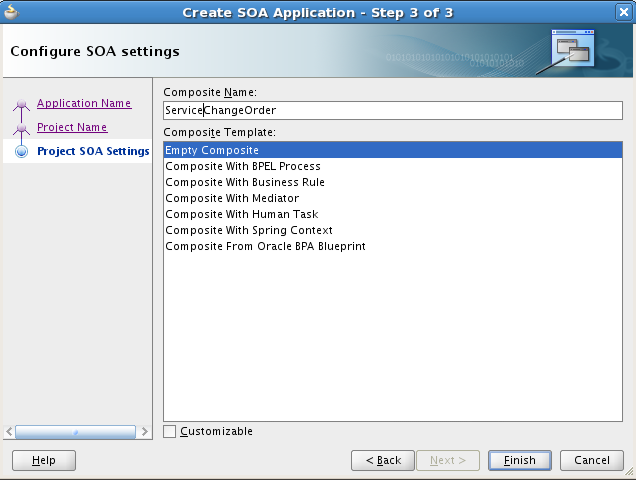
- Select the SOA project property.
- Name the composite as ServiceChangeOrder and choose an 'Empty Composite' template
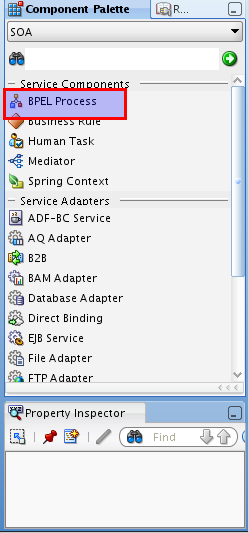
Construct a BPEL process
- Drag the BPEL process component to the blank page in the center
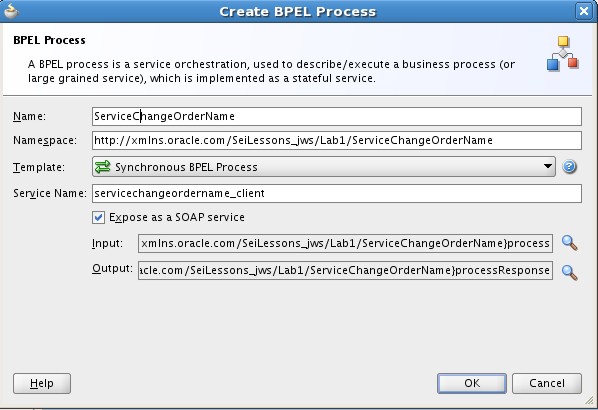
- Name the BPEL process as ServiceChangeOrderName, choose a synchronous BPEL process and change the service name to servicechangeordername_client
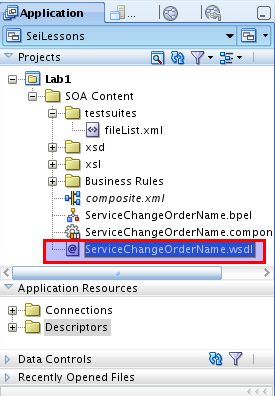
- Double click the created Web Service component and take note the name of the WSDL file
- Open and review the WSDL file by double clicking on the file. View the source and design tabs.
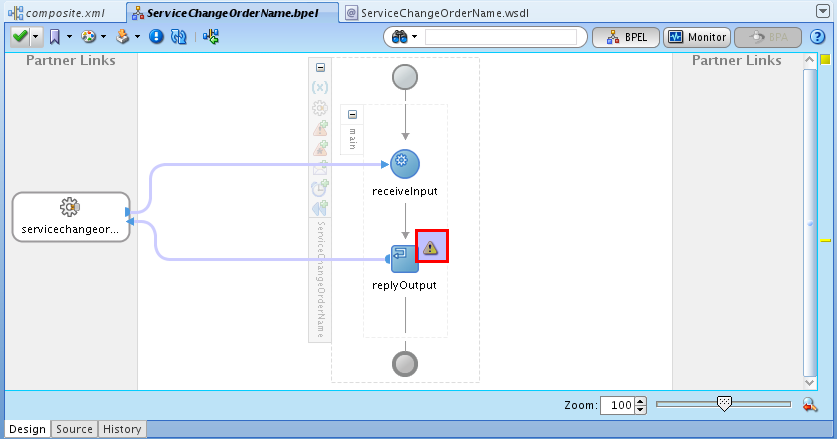
- In the composite.xml view open (double click) the BPEL component named ServiceChangeOrderName.
- Verify the warning present in the BPEL process.
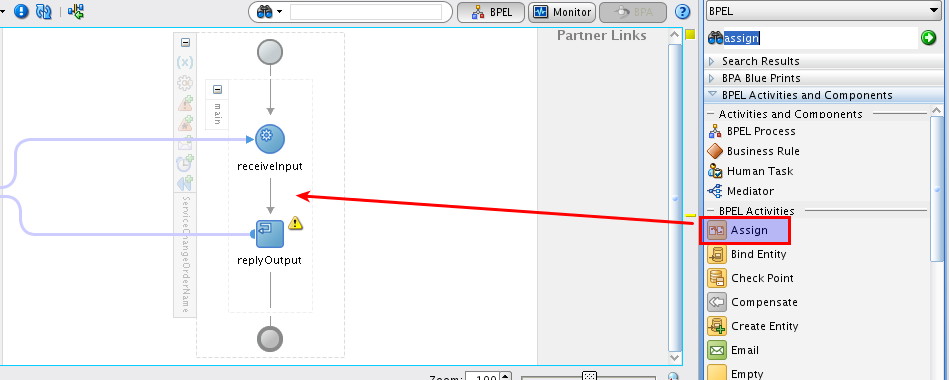
- Drag the assign activity from the component pallet to the space between receiveInput and replyOutput shapes.
Assign values
- Copy a value from the input to output.
- Open (double-click) the assign shape
- Select Copy operation
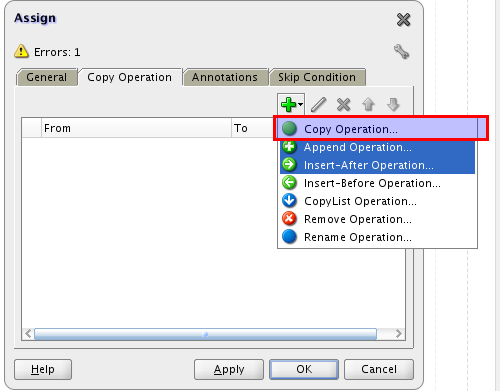
- Copy client:input to client:result

- Recheck the warning at replyOutput shape.
Deploy the process
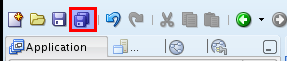
- Click the Save All button.
- Right click the Lab1 project, select deploy and choose ServiceChangeOrder

- Choose Deploy to Application Server and click next
- Note the revision ID and click next
- Choose the localhost-wls and click next
- Choose the Default partition of the AdminServer
- Review the summary click finish
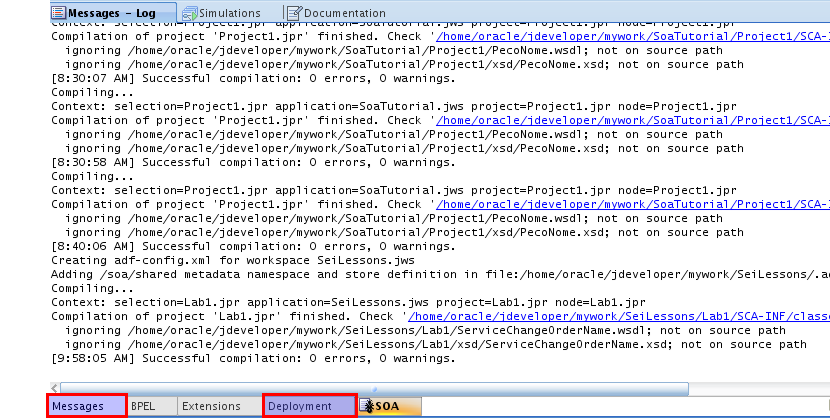
- Follow the log messages in the messages and deployment tab.
Test BPEL process
- Open a web browser and point it to: http://localhost:7001/em
- Use user-pass pair: weblogic welcome1
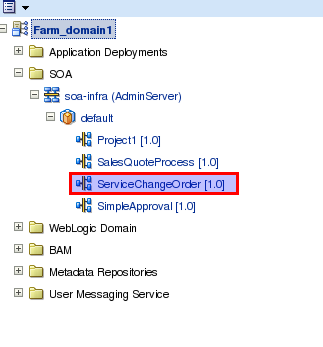
- Select the ServiceChangeOrder composite.
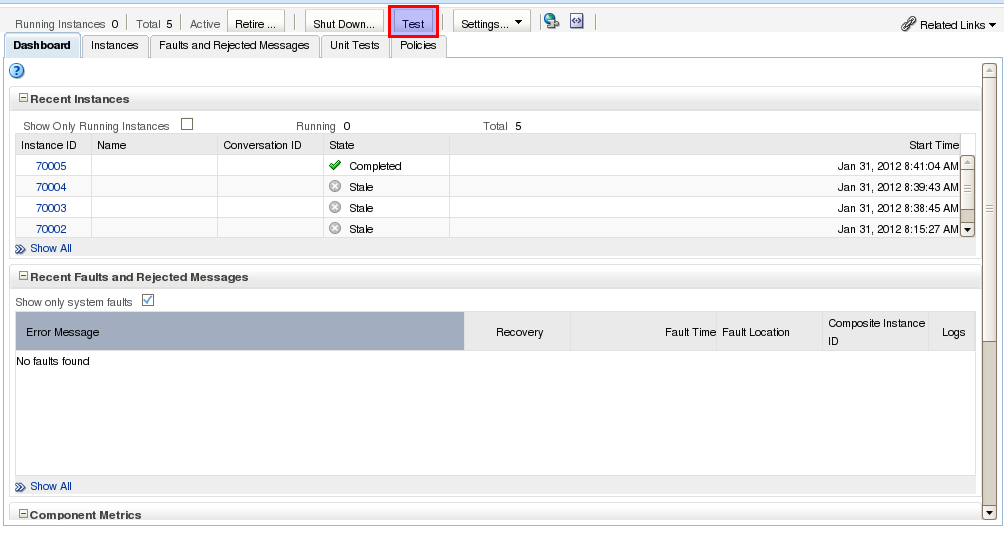
- Click on the Test Button.
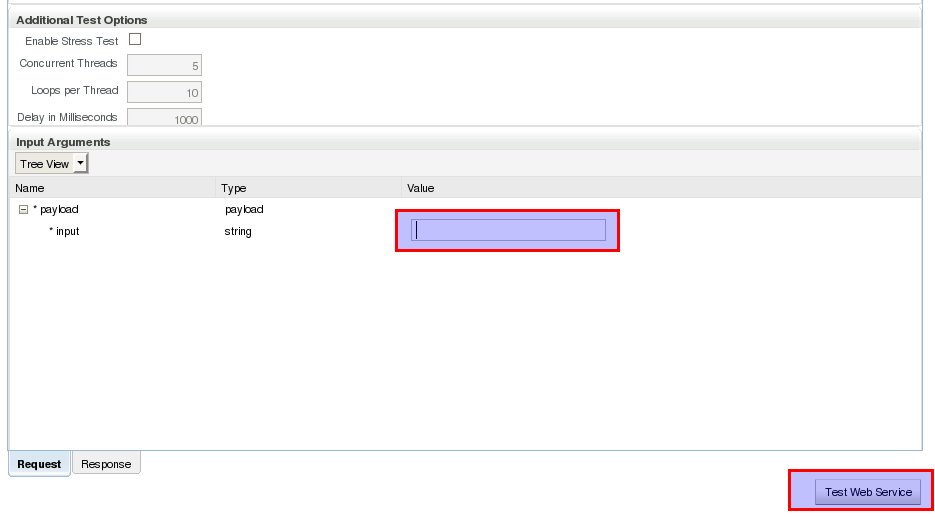
- Insert a test string in the input field. Then click the test web service button.
- Check the test result output
- Go back to the ServiceChangeOrder Composite and check the flow trace of the new instance.
Modify the service
- Edit the XSD parameters file
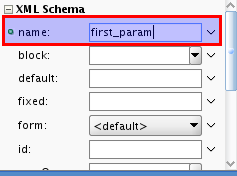
- In JDeveloper select the ServiceChangeOrderName.xsd. Select the design tab.
- Change the element name from input to first_param.
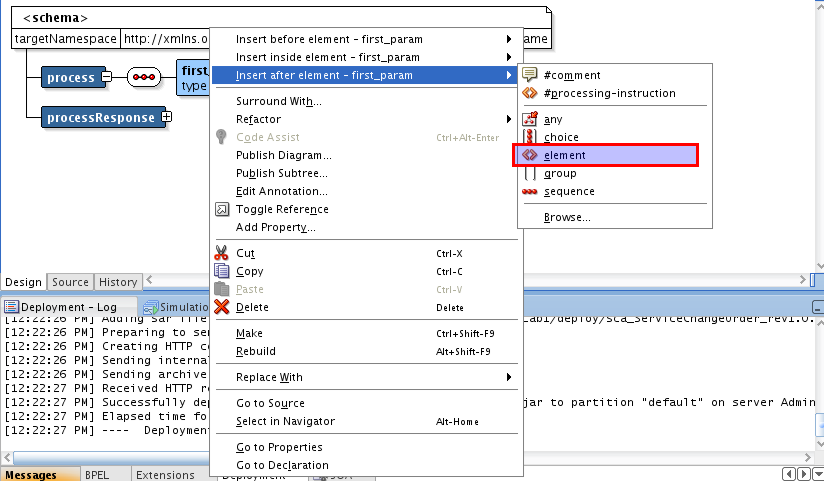
- Insert new element named second_param after the first_param element. Indicate that the element is of the type string.
- Repeat the process for the output parameters. Create a first_out and a second_out element.
- In the assign component, add change parameters. Assign the input first parameter to the output second parameter and vice-versa.
- Deploy the process. Check the deployment log tab for any errors.
- In the Enterprise Manager test the new process.