Table of Contents
About VirtualBox
VirtualBox is a virtualization software package that can be installed on an existing host operating system as an application and allows allows additional guest operating systems, to be loaded and run, each with its own virtual environment.
For this course we are using a SOA and BPM Development Virtual Machine available at Oracle Technology Network. You can find more information at the Download and Instructions page.
Import appliance
- Start VirtualBox
- Import Appliance - the image occupies 32 GB after installation
- Adjust the 'System', 'Memory' to 4GB and 'Processor' to 2 cores, if possible. These are the minimum recommended values.
Start the VirtualBox image
- Start the Virtual Machine (VM) and wait for system to boot.
- Linux console login oracle:oracle (user:pass)
- Choose 'Start Desktop', 'OK'
- In 'Domain Setup', choose 'dev_bpm' updated
- In 'VM Control Center', 'JVM Settings'. Change 'AdminServer', 'Heap (MB)', 'Min:' 1536, 'Max:' 1536.
- In 'VM Control Center', 'Select All' servers and 'Start'. Wait. This can take up to 10 minutes. 'Server Status' can be used to check if servers are stopped or running (also accessible through desktop shortcut 'Start/Stop Weblogic Servers').
- Meanwhile, adjust other settings:
- If screen size is too large, change resolution by going to 'System', 'Preferences', 'Screen Resolution', e.g. choose '1024x768'
- If keyboard is not working properly, go to 'System', 'Keyboard', 'Layout' and add a suitable layout (e.g. Portuguese)
- Adjust time zone e.g. to Lisbon, Portugal
Test other software
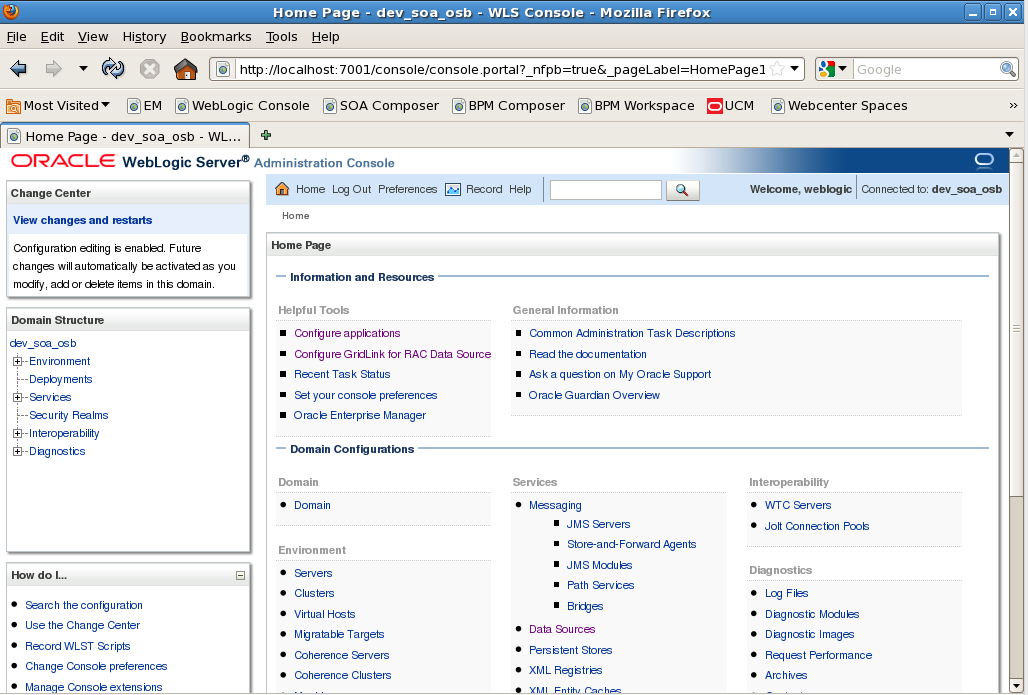
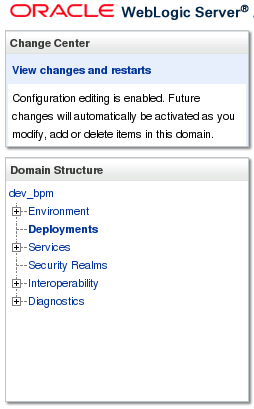
- Open Oracle WebLogic Server Administration Console
- http://localhost:7001/console
- Login: weblogic:welcome1
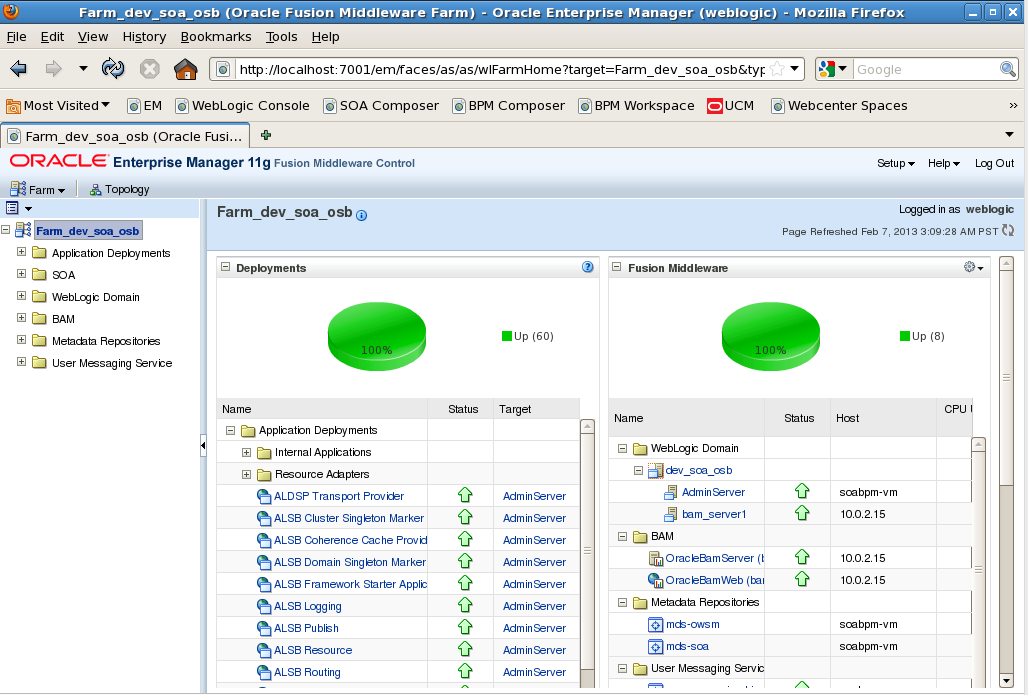
- Open 'Oracle Enterprise Manager Fusion Middleware Control'
- http://localhost:7001/em
When the 'Loading...' message appears wait. This can take up to 2 minutes. If it takes too long, enter the initial address again. - Login: weblogic:welcome1
- If operation is successful: 'Login is successful, loading next page ...'
- Start 'Oracle JDeveloper'
- Click desktop icon.
- Select 'Default Role'

Configure database
Several configuration steps are required to properly configure the database for use with the DBAdapter component.
First, the database has to be created, then a data source, next a data source pool, and finally use it in a DBAdapter, dragged to a BPEL project
- Ignore 'Get Started With Oracle Database 11g Express Edition'. We will use the console instead.
- Open Oracle DB Env Terminal
- sqlplus system/welcome1
- Note: These commands can be scripted and then piped to the sqlplus program
- sqlplus system/welcome1 < script.sql
- To test:
- sqlplus soa_user/welcome1
- Open Oracle WebLogic Server Administration Console
- http://localhost:7001/console
- Login: weblogic:welcome1
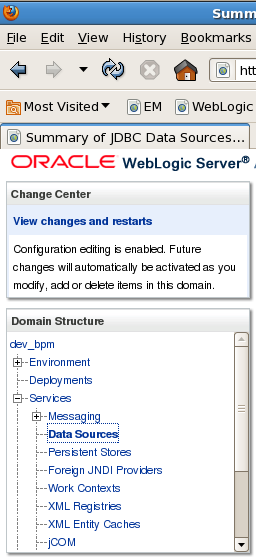
- Create Data Source
- Go to: 'Data sources'
- 'New', 'Generic Data Source'
- Name: My JDBC Data Source
- JNDI Name: jdbc/mydb
- Database Type: 'Oracle'
- Click 'Next'
- Accept Database Driver suggestion and click 'Next'
- At 'Transaction Options' click 'Next'
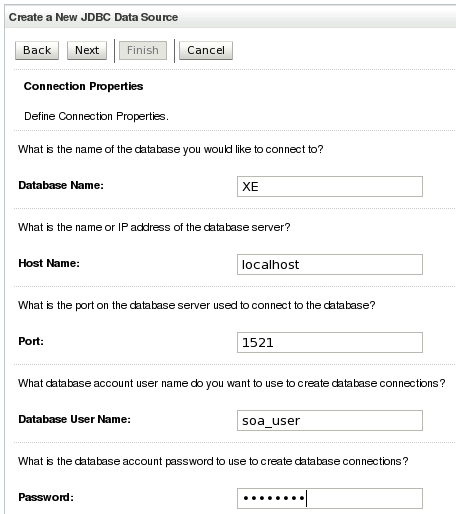
- Database Name: XE
- Host Name: localhost
- Port: 1521
- Database User Name: soa_user
- Click 'Next'
- Click 'Test Configuration' button
- If operation is successful: 'Connection test succeeded.'
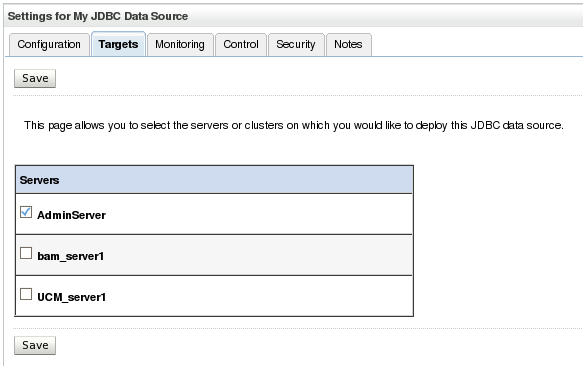
- Define the data source target server
- Choose the application server
- Click 'Finish'
- Configure DbAdapter connection pool
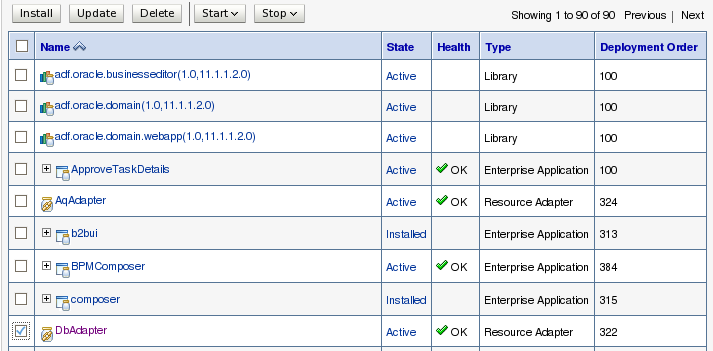
- Go to 'Deployments'
- Find 'DbAdapter' on table and click on it.
- 'Configuration', 'Outbound Connection Pools'
- In 'Outbound Connection Pool Configuration Table', click 'New'
- Select 'javax.resource.cci.ConnectionFactory'
- JNDI Name: eis/DB/mydb
- 'Finish'
- In 'Outbound Connection Pool Configuration Table', expand 'javax.resource.cci.ConnectionFactory'
- Click 'eis/DB/mydb'
- Edit property 'xADataSourceName' and set value to 'jdbc/mydb'
- 'Save'
- If operation is successful: 'Success All changes have been activated. No restarts are necessary.'
- Go to 'Deployments', select 'DbAdapter' and redeploy (select and update)
- Configure DbAdapter on SOA project
- Inside a BPEL project
- Drag DB Adapter
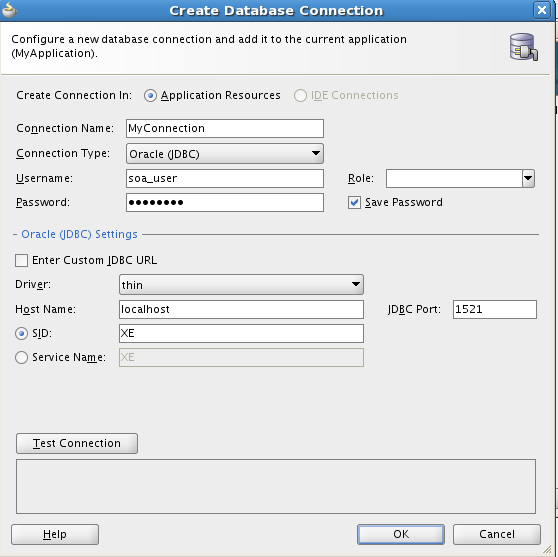
- Configure database
- The JNDI name must match the name of the connection pool: eis/DB/mydb
CREATE USER soa_user IDENTIFIED BY welcome1; GRANT connect, resource TO soa_user;
CREATE TABLE test (name VARCHAR(255), value VARCHAR(255));
INSERT INTO test (name, value) VALUES ('1', 'one');
SELECT * FROM test;


(with thanks to Filipe Azevedo for assisting in this configuration)
References
- Software versions
- Release notes
- ReadMe - more information about VM configuration.